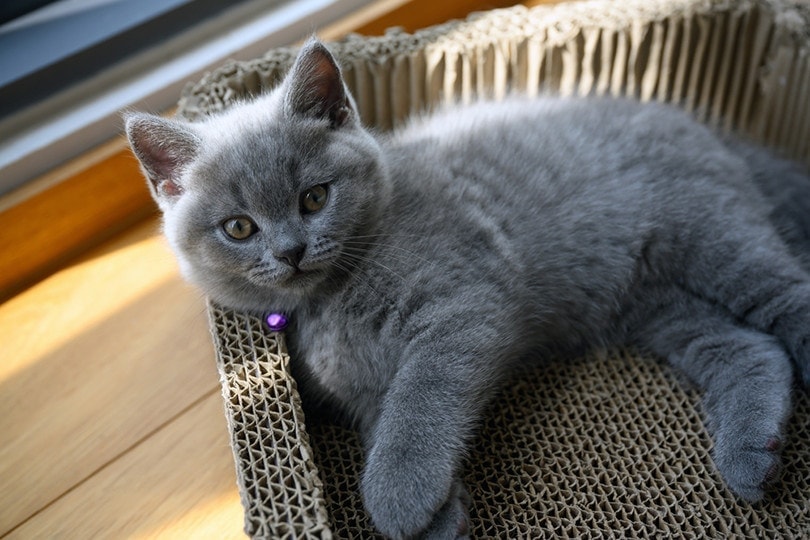
Scratching is a natural behavior for cats and keeps their nails trimmed and helps them release excess energy. If you don’t provide a scratching post for your cat, they’ll make do with anything they find around the house, including your couch, curtains, or carpet.
You can find numerous cat scratching posts on the market, but they can be expensive. If you prefer, you can make your own to save some money and give your cat a personalized scratcher that suits their size and activity level. Discover the best 8 DIY cardboard cat scratcher plans you can make today and get to work!
The Top 8 DIY Cardboard Cat Scratcher Plans
1. DIY Cat Scratcher Bed / Dome House
| Materials: | Cardboard |
| Skill level: | Beginner |
| Other tools needed: | Knife, glue |
This DIY Cat Scratcher Bed / Dome House is a simple and stylish design that adds to your décor and gives your cat a unique scratching post and hideaway combination. The finished design looks like a high-end scratcher and cat cove you’d pay a lot of money for, but it only takes some cardboard, a knife, and glue to put it together. Best of all, you can adjust the dome size to suit larger or smaller cats.
The key to a good design is precise cutting, but this tutorial shows you every step with highly detailed pictures. Because it’s constructed with multiple layers of circular-cut cardboard, you can easily correct individual parts if you make a mistake.
2. Corrugated Cardboard Cat Scratcher
| Materials: | Corrugated cardboard |
| Skill level: | Beginner |
| Other tools needed: | Knife, glue or tape, cutting mat |
This Corrugated Cardboard Cat Scratcher tutorial is created by a cat owner with a self-proclaimed “feral little murder-brat” that loves his homemade cat scratcher. The scratcher is made from corrugated cardboard because cats are attracted to the texture, and encourages them to sharpen their claws. In addition, the scratcher takes minimal supplies and is recyclable.
The tutorial suggests upcycled cardboard from any source, but shipping boxes offer plenty of corrugated cardboard in different sizes. Other than cardboard, all you need is a measuring tool, a knife, glue or tape, and a cutting mat. This tutorial offers two versions, so you can choose the best one for your needs.
3. Homemade Cardboard Cat Scratcher
| Materials: | Cardboard |
| Skill level: | Beginner |
| Other tools needed: | Knife, ruler or measuring tape, glue |
This Homemade Cardboard Cat Scratcher has a simple, flat design that can be made in virtually any size you need. Unlike more complex designs, this scratcher is composed of identical strips stacked and glued together. One of the best aspects of this scratcher is that it can be flipped over to a fresh side when your cat wears out one side.
Like the other designs, all you need for this DIY project is a bunch of moving boxes, a ruler or measuring tape, a knife, and glue. The strips can be cut as thin or as wide as you need to give your cat a fun experience. The instructions are clear and include plenty of photos to visualize the design.
4. DIY Homemade Cat Scratcher
| Materials: | Cardboard, foam (optional) |
| Skill level: | Beginner |
| Other tools needed: | Knife, glue |
This DIY Homemade Cat Scratcher uses a circular design that you can make as small or as large as you want. The build is simple and just takes strips wrapped around the center in a spiral pattern. It also uses a base made of cardboard or foam to make it sturdier.
All you need for this build is a bunch of boxes, a knife, glue, and foam or cardboard for the base. The instructions include pictures and tips to make your scratcher as nice as possible, including a tip to build the spiral and trim the edges for an even surface.
5. Lexi’s DIY Corrugated Cat Bed
| Materials: | Corrugated cardboard, toilet paper tube, string, and cat toy (optional) |
| Skill level: | Beginner |
| Other tools needed: | Knife, measuring tool, glue |
Lexi’s DIY Corrugated Cat Bed doubles as a scratcher for your cat. This innovative design uses old, corrugated cardboard boxes and a string with a toy for your cat to play with. One of the nice touches with this design is that it has fabric on the edges to make it look more polished and hold everything together.
This design may seem more challenging because of its raised edges, but that’s a simple step – the cardboard strips on the outside are just a little thicker than the inside. The center has a toilet paper tube to attach a string and toy. For the fabric, you can choose any design you like to compliment your décor. Otherwise, you only need cardboard, a measuring tool, a knife, and glue.
6. DIY Cardboard Cat Scratcher
| Materials: | Cardboard |
| Skill level: | Beginner |
| Other tools needed: | Knife, ruler, duct tape, scissors, epoxy |
This DIY Cardboard Cat Scratcher has a cute cat-shaped design and couldn’t be simpler to build. The scratcher is a lay-flat design that you can make as large or small as your cat needs. You could also make several scratchers for a multi-cat household.
All you need for this scratcher is cardboard, a knife, a ruler, duct tape, scissors, and epoxy. You cut the cardboard into strips, which can be as narrow or wide as you need for your cat. The cardboard is wrapped in a coiled circle and taped closed, and the cat’s “ears” are created by stacking smaller pieces together. The tutorial has detailed instructions and several pictures to illustrate the process.
7. Simple Cardboard DIY Catscraper
| Materials: | Cardboard, plywood, wooden dowels |
| Skill level: | Intermediate |
| Other tools needed: | Knife, cutting mat, glue, power drill, saw |
This Simple Cardboard DIY Catscraper is one of the cutest designs on the list. The different thicknesses and textures give your cat a lot of enrichment, and it couldn’t be more fun to build! Don’t be intimidated by the design—it’s easy to follow the directions to build your own.
This design uses cardboard, plywood, and wooden dowels for sturdiness, so you’ll need a power drill and either pre-cut wood or a saw. Otherwise, you need corrugated cardboard, a knife, and a cutting mat. The directions are complex but well detailed with written instructions and illustrative photos.
Related Read: 23 DIY Cardboard Cat House Plans You Can Build Today (With Pictures)
8. Corrugated Cardboard Scratching Post
| Materials: | Cardboard plywood, old carpet, wooden dowels |
| Skill level: | Intermediate |
| Other tools needed: | Screws, staple gun, glue |
This Corrugated Cardboard Scratching Post resembles a store-bought cat scratching post and uses both cardboard and carpet remnants to give your cat a variety of textures and angles. You can follow the instructions to the letter to build an identical design or let it inspire you with different angles and platforms.
For this build, you need some old carpet, plywood, wooden dowels, screws, and a staple gun. If you have a saw, you can cut the wood yourself or have it pre-cut at a hardware store. The plywood forms the frame of the design, which is then covered with carpet. The cardboard scratching area is a flat piece that goes inside, so your cat will have hours of play.
Related Read: 10 DIY Cat Scratching Posts Plans You Can Make Today
Conclusion
Making a cat scratcher out of corrugated cardboard is an easy, cost-effective, and eco-friendly way to give your cat the enrichment it enjoys and save your household furniture from claws. With a DIY cardboard cat scratcher design, you can make changes to the shape or size to suit your cat, so get creative! Best of all, when your cat wears the scratcher out, you can make another to replace it cheaply and easily.
Featured Image Credit: lowpower225, Shutterstock


